🍀 Discounts on juicer accessories up to 30% →

Blog, Page 6

List of articles

How to Choose a Bread Maker

How to Choose a Bread Maker

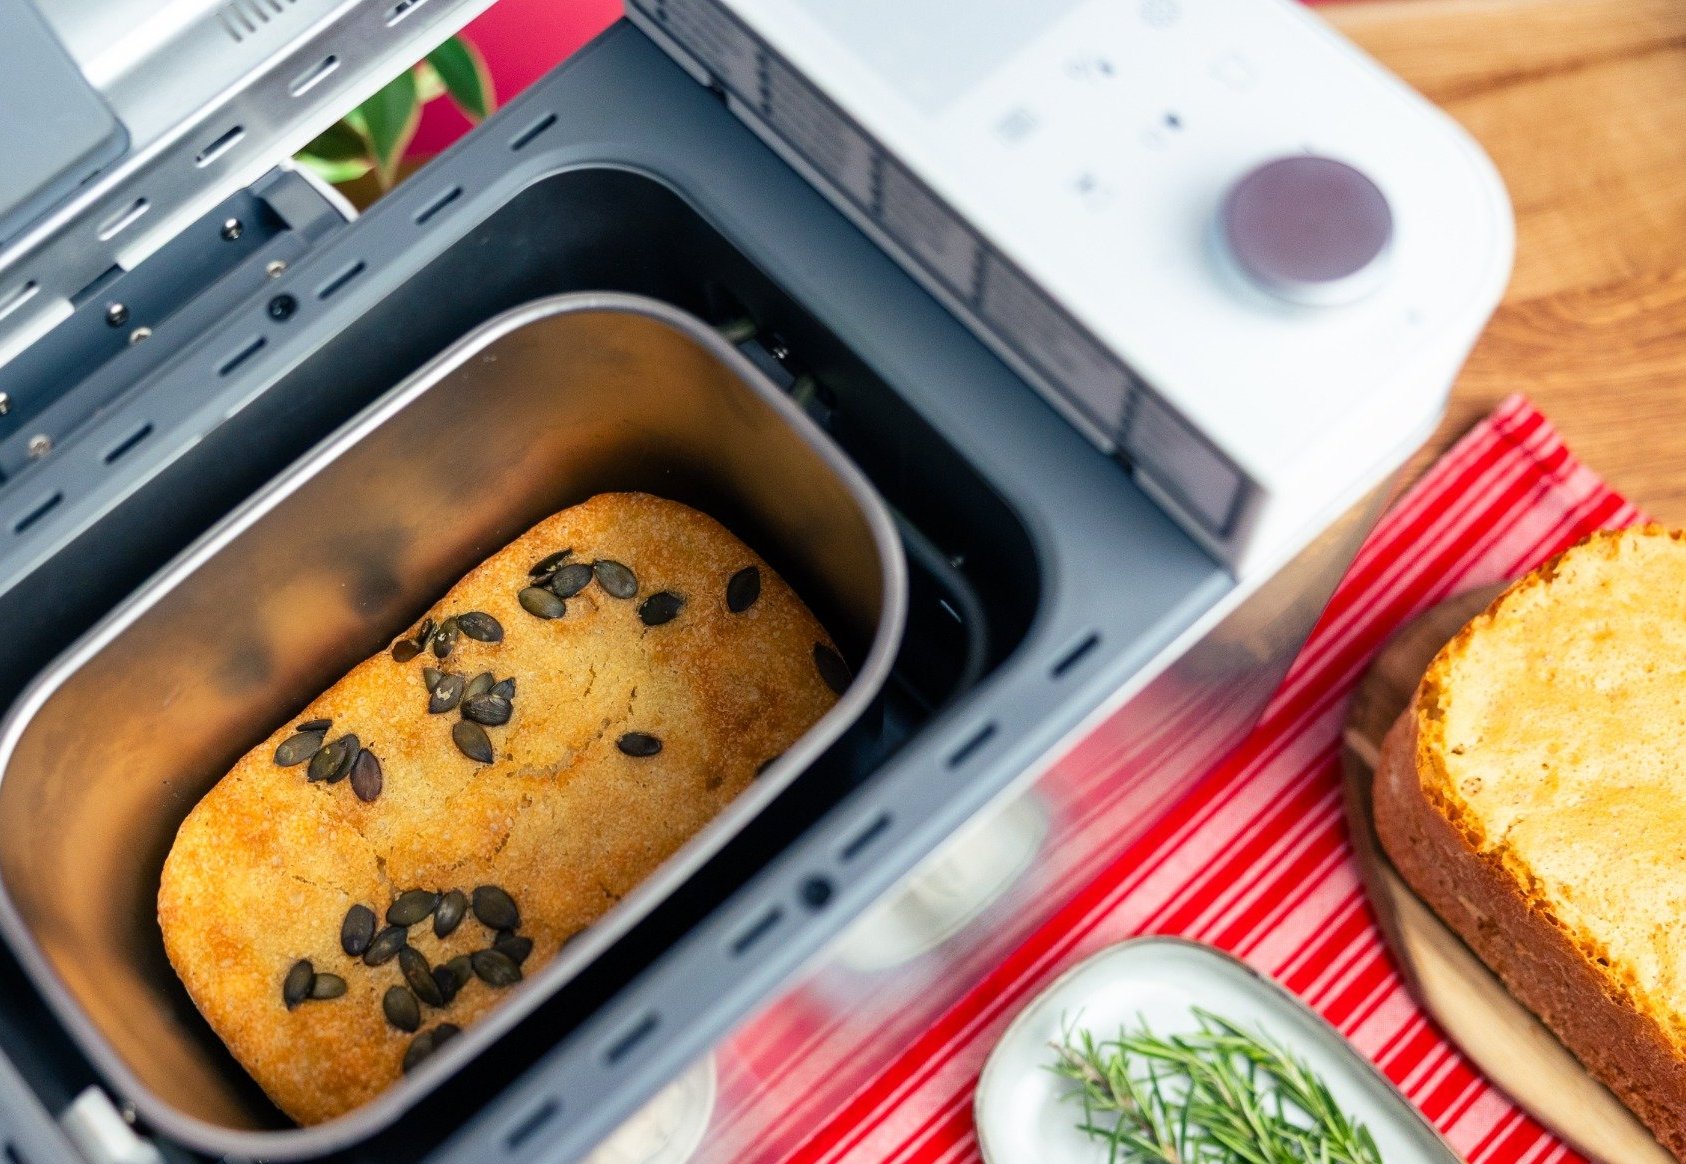
A bread maker can be one of the most rewarding kitchen appliances you own. It allows you to enjoy fresh homemade bread with minimal effort while giving you complete control over the ingredients you use.

But not all bread makers are the same. When choosing a bread maker, it is worth looking beyond the number of programs and considering the features that have the greatest impact on baking performance, flexibility, and long-term durability.

What Do You Want to Bake?

Before comparing specifications, think about how you plan to use your bread maker.

Some people want a simple machine for everyday sandwich bread. Others want to experiment with whole grain recipes, sourdough, gluten-free breads, specialty doughs, or custom recipes.

The more adventurous your baking becomes, the more important flexibility and control become.

Bread Pan Material Matters

The bread pan is the hardest-working component in any bread maker.

Most bread makers use pans coated with a non-stick surface. While these coatings make loaf removal easy, they can gradually wear over time through repeated mixing, kneading, and baking.

Many home bakers are also becoming more conscious of the materials used in food preparation. As a result, some customers prefer to avoid chemical non-stick coatings altogether.

For those bakers, the material of the bread pan can be an important consideration. While coated pans dominate the bread maker market, a small number of premium machines now offer alternative options such as stainless steel or ceramic.

It's worth noting that uncoated stainless steel bread pans are currently available only in the Sana Smart Bread Maker II. Because bread can stick more easily to bare stainless steel than to non-stick surfaces, designing a machine that bakes successfully with an uncoated pan requires careful control of the baking process and lower baking temperatures.

If durability, health, and material choice are important to you, the bread pan is one of the most important features to consider when choosing a bread maker.

Programming Flexibility

Many bread makers offer a large number of preset programs. While these programs are convenient, they may not always provide the flexibility needed for more advanced recipes.

If you plan to bake with freshly milled flour, whole grains, sourdough, gluten-free recipes, or your own custom formulations, it is worth looking for a machine that allows you to adjust the baking process.

Advanced bread makers let you customize factors such as:

  • Kneading times
  • Kneading speeds
  • Rise times
  • Rise temperatures
  • Bake times
  • Bake temperatures

Some models even allow multiple kneading, rising, and baking stages within a single program. This level of control makes it possible to fine-tune recipes and achieve more consistent results across a wide variety of breads.

For serious home bakers, programming flexibility can be far more valuable than simply having a large number of automatic programs.

Temperature Control Makes a Difference

Baking temperature has a significant impact on the finished loaf.

Some bread makers rely on relatively high temperatures and simple heating systems. More advanced machines use temperature sensors and sophisticated controls to carefully manage the baking process.

Certain models even use lower baking temperatures and insulated baking chambers to create a gentler baking environment. This approach can provide greater control over the baking process and help achieve more consistent results across a wide range of recipes.

Precise temperature management becomes especially important when working with whole grain flours, specialty recipes, and custom baking programs.

Consider Ease of Use

A good bread maker should make baking easier, not more complicated.

Look for features such as:

  • Easy-to-read controls
  • Simple program customization
  • Clear viewing windows or lids
  • Easy cleaning
  • Durable construction

The best bread makers combine advanced capabilities with straightforward everyday operation.

Think Long-Term

Many people focus on the initial purchase price, but a bread maker is often used for many years.

When comparing models, consider:

  • Build quality
  • Bread pan durability
  • Warranty coverage
  • Availability of replacement parts
  • Manufacturer support

A well-built bread maker can provide years of reliable service and become one of the most frequently used appliances in your kitchen.

Which Bread Maker Is Right for You?

For occasional baking, a basic bread maker with standard programs may be all you need.

For bakers who enjoy experimenting with recipes, controlling every stage of the baking process, and investing in long-term durability, it is worth looking for a machine that offers advanced programming options, precise temperature control, and a high-quality bread pan.

If you bake frequently, the ability to customize recipes and rely on durable materials can provide value that lasts far beyond the initial purchase.

Fresh Bread, Your Way

The best bread maker is one that matches your baking style and gives you the level of control you want. Whether you're making a simple white loaf, experimenting with sourdough, or baking bread from freshly milled flour, a quality bread maker makes it easy to enjoy fresh homemade bread whenever you want it.

By focusing on durability, flexibility, and thoughtful design rather than simply the number of preset programs, you can choose a bread maker that will serve your kitchen for many years to come.
How to Choose a Blender

How to Choose a Blender

A good blender is one of the most versatile appliances in the kitchen. It can make smoothies, soups, sauces, nut butters, dressings, frozen desserts, and much more.

But not all blenders are designed for the same tasks. Before choosing a blender, it is worth considering how you plan to use it and which features matter most to you.

Personal Blender or Countertop Blender?

The first decision is choosing between a personal blender and a full-size countertop blender.

Personal Blenders

Personal blenders are compact, affordable, and easy to use. They are ideal for:

  • Single-serving smoothies
  • Protein shakes
  • Simple sauces
  • Small kitchens
  • Taking drinks on the go

Because you blend directly in the drinking cup, cleanup is usually quick and simple.

Countertop Blenders

Countertop blenders offer larger capacities and more power. They are better suited for:

  • Family-sized smoothies
  • Nut butters
  • Soups
  • Frozen desserts
  • Sauces
  • Large batches of ingredients

If you plan to use your blender regularly for a variety of kitchen tasks, a countertop blender is usually the better long-term investment.

What Will You Blend?

Not all blending tasks require the same machine.

If your primary goal is making smoothies, most quality blenders can handle the job.

However, if you want to process tougher ingredients such as nuts, seeds, frozen fruit, or fibrous vegetables, a more powerful blender may be worth considering.

Think about the foods you prepare most often and choose a blender designed for those tasks.

Is More Power Always Better?

Motor power is one of the most advertised blender specifications, but it is not the only factor that affects performance.

The design of the blade, jar shape, and airflow inside the container can have just as much impact on blending results as motor size alone.

A well-designed blender often performs better than a more powerful machine with a less efficient blending system.

When comparing models, it is best to consider the complete design rather than focusing only on wattage.

Capacity Matters

Blender jars come in a variety of sizes.

Smaller jars are convenient for individual portions and take up less counter space.

Larger jars are useful for:

  • Family meals
  • Batch preparation
  • Soups
  • Frozen desserts
  • Entertaining guests

If multiple people will use the blender regularly, a larger jar can save time and reduce the need for multiple blending cycles.

Easy Cleaning Makes a Difference

A blender that is difficult to clean is less likely to be used regularly.

Many modern blenders can be cleaned by adding warm water and a drop of dish soap, then running the machine for a few seconds.

Features such as removable lids, wide openings, and dishwasher-safe components can make everyday use more convenient.

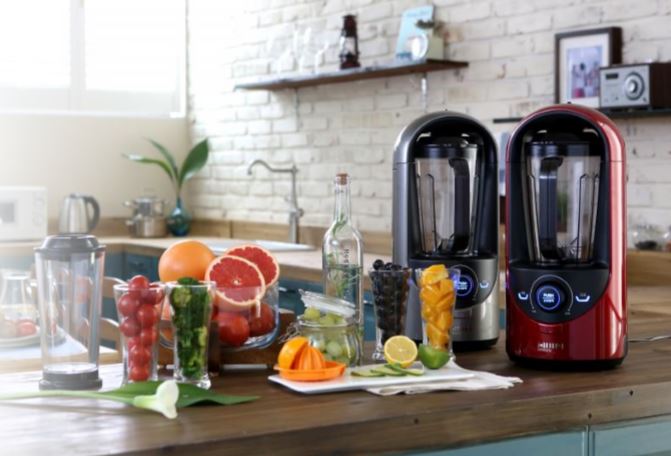
What Is Vacuum Blending?

One of the newest developments in blending technology is vacuum blending.

Traditional blenders pull large amounts of air into the mixture during blending. This exposure to oxygen begins the oxidation process immediately.

Vacuum blenders work differently. Before blending begins, air is removed from the blending jar, creating a low-oxygen environment.

This offers several potential benefits:

  • Reduced oxidation
  • Better preservation of color
  • Less foam
  • Smoother texture
  • Improved storage life

The difference can be surprisingly noticeable, especially when blending fruits and vegetables. Ingredients that normally discolor quickly may remain fresher-looking for much longer when blended under vacuum.

For people who regularly make smoothies, green drinks, or blended juices, vacuum blending is a feature worth considering.

Which Blender Is Right for You?

For quick smoothies and everyday convenience, a personal blender may be all you need.

For greater versatility, larger batches, and more demanding tasks, a countertop blender is usually the better choice.

If preserving freshness and minimizing oxidation are priorities, vacuum blending offers advantages that conventional blenders cannot provide.

Blend Smarter

The best blender is the one that matches your cooking habits and the foods you prepare most often.

By focusing on size, versatility, ease of use, and blending technology rather than marketing claims alone, you can choose a blender that will serve your kitchen well for years to come.

How to Choose a Juicer

How to Choose a Juicer

How to Choose a Juicer (2026 Buyer’s Guide)


What should you know before buying a juicer?

At Sana Store, we personally test every juicer before offering it for sale. Our evaluation process measures:

  • Juice yield (extraction efficiency)
  • Juice quality and oxidation rate
  • Build quality and materials
  • Ease of use
  • Ease of cleaning
  • Noise level
  • Versatility and accessories
  • Long-term value


 If a juicer doesn’t meet our standards, we don’t sell it.

Our testing principles:

  • We only stock juicers that pass performance benchmarks
  • We remain brand-neutral. Results determine what we offer
  • Higher price does not automatically mean better performance


This guide explains how to choose the right juicer based on your ingredients, lifestyle, and budget.


Which Juicer is the Best?


We’re often asked: “What is the best juicer?”  There is no single best juicer - only the best juicer for your needs.  Your ideal choice depends on:

  • Budget
  • Juice yield expectations
  • Produce types
  • Ease of cleaning
  • Frequency of use
  • Juice storage goals
  • Versatility (nut milks, sorbets, baby food, etc.)


Understanding your priorities is the most important step.

Juicing technology has evolved significantly over the past decade. While any juicer can produce juice, major differences exist in:

  • Nutrient retention
  • Oxidation speed
  • Yield efficiency
  • Fiber content
  • Noise
  • Cleaning time


Key principle:
There is no universal juicer perfect for all fruits and vegetables.


What type of produce will you juice?


Hard vegetables (carrots, beets, ginger)

  • Compatible with most juicers
  • Yield varies widely
  • Best performance: horizontal single-auger juicers


Leafy greens (kale, spinach, wheatgrass)

  • Best: dual-gear juicers
  • Excellent: high-end horizontal single augers
  • Poor: centrifugal juicers


Tropical fruits (pineapple, mango, kiwi)

  • Challenging due to fiber + softness
  • Best: single-auger slow juicers
  • Use coarse screens for efficiency


Berries

  • Low yield in centrifugal machines
  • Best processed in slow juicers
  • Coarse screens improve flow


Stone fruits (peaches, plums, apricots)

  • Dense pulp can clog fine screens
  • Combine with firmer produce
  • Use coarse screens where possible


Pome fruits (apples, pears)

  • Juice well in all machines
  • Older/soft fruit: best in hydraulic presses or slow juicers


Citrus fruits

  • Easy in all juicers
  • Dedicated citrus presses offer convenience but not essential


Bottom line: Choose a juicer optimized for the produce you’ll use most.


What kind of juice do you prefer?

Juicer technology determines juice texture, flavor, and shelf life.


Low-RPM (Slow / Cold-Press) Juicers

Characteristics:

  • Rich, full flavor
  • Natural pulp content
  • Minimal foam
  • Low oxidation
  • Higher nutrient retention
  • Juice storage: up to 24 hours (72 with vacuum storage)


Best for:

  • Health-focused juicing
  • Batch preparation
  • Greens and mixed produce


Centrifugal (high speed) juicers

Characteristics:

  • Very fast juicing
  • Lighter, thinner juice
  • Foam separation
  • Rapid oxidation
  • Lower storage life (drink immediately)


Suitable for:

  • Occasional juicing
  • Hard fruits and vegetables
  • Users prioritizing speed over yield
  

How often will you use your juicer?

Frequency determines how important cleaning and assembly become.

Daily juicing

Best:

  • Horizontal single augers
  • Fast assembly
  • Fewer parts
  • Quick rinse cleaning


Regular but convenience-focused

Good:

  • Vertical slow juicers
  • Self-feeding designs

Maximum performance (but complex)

  • Dual-gear juicers
  • Highest yield for greens
  • Longest cleaning time

Juice storage considerations

Using vacuum containers:

  • Reduces oxidation
  • Extends storage life
  • Slow juice can last up to 72 hours refrigerated

Price vs value: What’s the cost of your health?

Cheap juicers often go unused.

Common complaints:

  • Poor yield
  • Difficult cleaning
  • Loud operation
  • Frequent clogging
  • Many Chinese-made juicers have minimal warranties and are basically disposable juicers

Savings disappear when produce waste increases.


Why invest in a premium juicer?

  • Higher juice yield = lower ingredient cost
  • Better durability
  • Longer warranties
  • Available spare parts
  • Easier cleaning
  • Better daily usability

A quality juicer pays for itself through efficiency and longevity.

Basic overview of juicer types

Centrifugal juicers

  • Fastest juicing speed
  • Lower yield
  • Loud
  • Juice must be consumed immediately
  • Weak with greens and soft fruit

Single-auger horizontal juicers (best all-round choice)

  • Excellent versatility
  • High yield
  • Superior juice quality
  • Faster than verticals
  • Best yield with firm produce
  • Easy cleaning
  • Strong leafy-green performance
  • Homogenizing functions: Nut butters, Sorbets, Baby food, Sauces, Food processing

Modern models include:

  • Variable speeds
  • Stronger motors
  • Unlimited run cycles

Single auger vertical juicers (second best choice)

  • Gravity-assisted feeding
  • Good for soft fruits
  • Slower processing
  • More parts to clean
  • Large hoppers improve convenience

Dual-gear juicers

  • Maximum yield (especially greens)
  • High juice quality
  • Low oxidation
  • Complex assembly
  • Long cleaning time

Best suited for:

  • Dedicated juicing enthusiasts
  • Therapeutic juicing protocols

Manual (mechanical) juicers

  • No electricity required
  • Quiet operation
  • Lower yield

Ideal for travel or occasional use

Final thought: Which juicer is right for most people?

For the majority of households, a high-quality horizontal single-auger juicer offers the best balance of:

  • Yield
  • Juice quality
  • Versatility
  • Ease of cleaning
  • Durability
  • Long-term value

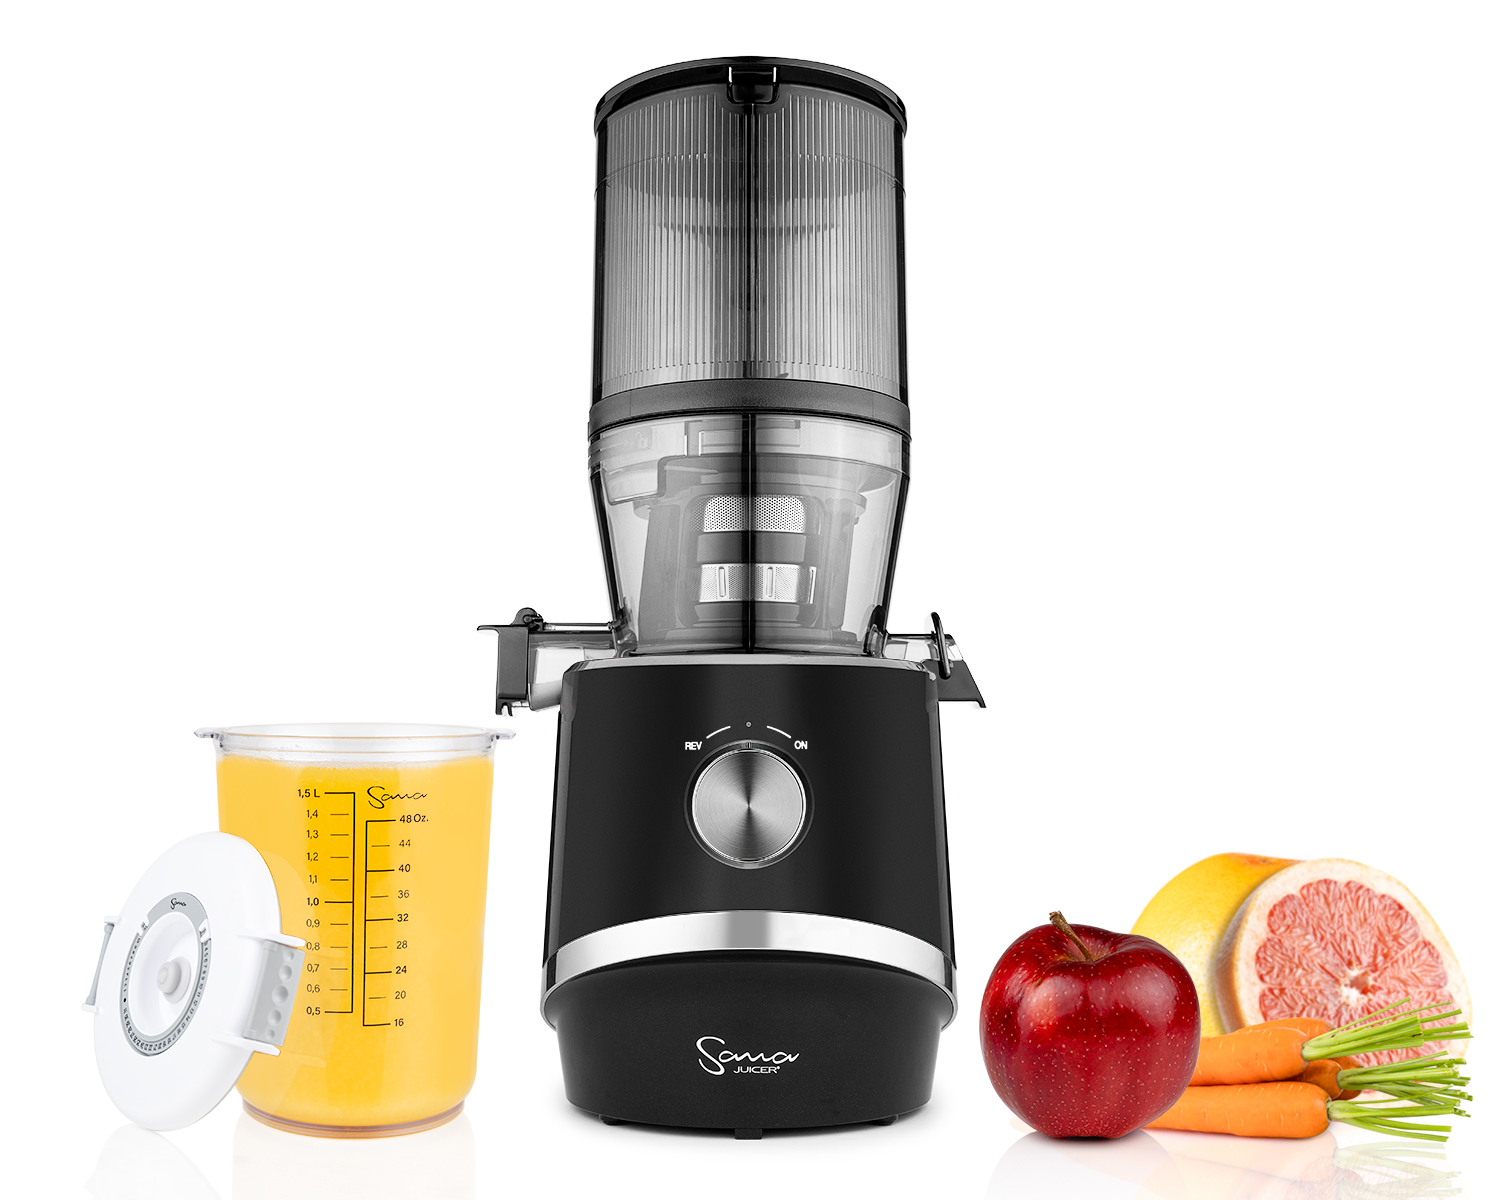
Sana Products is the industry specialist in horizontal juicers, and we recommend the following three models:


Sana EUJ-707 ferrari red profile

Sana 707

Sana's original iconic horizontal juicer rewrote the book when it came to juicing.  Ten years later, the design has been refined but the performance and durability remain. The world's first juicer to include three screens, the Sana 707 includes premium glass and stainless steel accessories and a celery insert for optimal celery juicing. Practically indestructible, the 707 is our pick for a value-priced juicer.

727-black-set

Sana 727 Supreme

Probably the best balance of price and performance in a juicer.  It was the first juicer with an advanced nonstop variable speed motor, and developed a new higher yield juicing system. It includes three screens for maximum versatility, and premium stainless steel and Bohemian crystal containers, as well as a special celery extraction blade for nonstop celery juicing. It's our pick for the best juicer for most people.

Sana 929 + accessories

Sana 929 Ultimate

In our opinion, this is the best juicer money can buy.  Made from solid stainless steel and featuring a lifetime warranty on parts and motor, this model will easily handle anything you can throw at it.  It has every feature we look for in a juicer, including three screens, variable speed nonstop motor, pressure regulator, and the highest possible yield. However, the price positions it for the true juicer enthusiast.

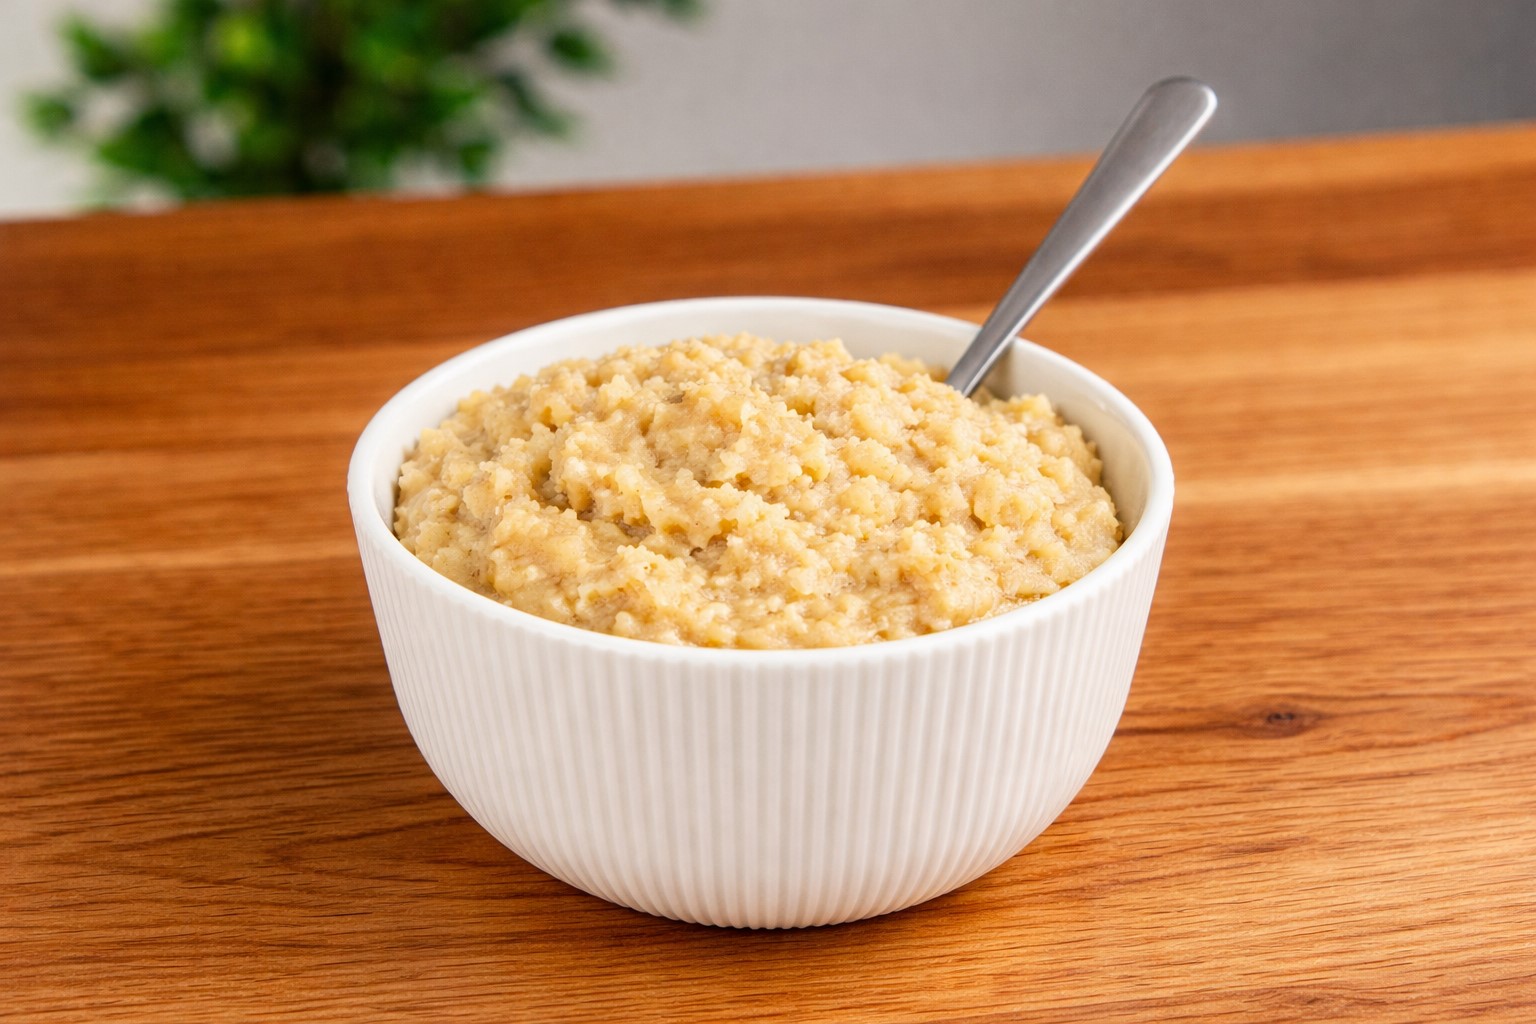
Macadamia Nut Butter Recipe (Ultra Creamy) – Why the Sana 929 Beats a Blender

Macadamia Nut Butter Recipe (Ultra Creamy) – Why the Sana 929 Beats a Blender

Looking for the best macadamia nut butter recipe? The secret isn’t just the nuts, it’s the method. While most recipes use a blender, a horizontal juicer like the Sana 929 produces a smoother, creamier, and more stable nut butter with less heat and oxidation.

If you want homemade macadamia nut butter that rivals premium store brands, this is the better approach.

ChatGPT Image Mar 20, 2026, 12_15_47 PM

Why Macadamia Nuts Are Different

Macadamia nuts contain up to 85% healthy monounsaturated fat, making them one of the richest nuts available. This gives them a naturally buttery texture—but also makes them sensitive to processing.

When making macadamia butter at home, improper methods can cause:

  • Oil separation
  • Overheating
  • Loss of flavor and nutrients

That’s why choosing the right equipment matters.

ChatGPT Image Mar 20, 2026, 12_10_54 PM

Blender vs Juicer for Nut Butter

Most guides recommend using a blender—but high-speed blending comes with trade-offs.

Blender (High-Speed)

  • ~20,000 RPM
  • Generates heat
  • Causes oxidation
  • Often leads to runny or separated nut butter

Sana 929 Juicer (Low-Speed)

  • 45–120 RPM
  • Cold processing (minimal heat)
  • Preserves nutrients
  • Creates naturally creamy texture

👉 For macadamia nut butter, the difference is especially noticeable due to the high oil content.


929 mac nuts

Why the Sana 929 Is Ideal for Nut Butter

The Sana 929 horizontal juicer uses a blank screen (homogenizing screen) to slowly crush nuts instead of spinning them. It is also the only home juicer made from 100% solid stainless steel.

Key Benefits:

  • Produces ultra creamy macadamia nut butter
  • Reduces oxidation and nutrient loss
  • Prevents excessive oil separation
  • Works as a nut butter maker, not just a juicer

Unlike blenders or vertical juicers, this method gives consistent, high-quality results.

How to Make Macadamia Nut Butter (Step-by-Step)

Settings:

  • Speed: 3 (~90 RPM)
  • Attachment: blank screen
  • Use: pressure cap ON

Instructions:

  • Add macadamia nuts slowly
  • Let them warm slightly during processing
  • Feed steadily for even consistency
  • Reprocess if needed (usually not necessary)

⏱️ Processing time: ~5 minutes (400g batch)

Natural vs Roasted Macadamia Nuts

Choosing the right nuts affects flavor:

Natural (raw-style) macadamia nuts

  • Mild, buttery taste
  • Best for recipes and cosmetics

Roasted macadamia nuts

  • Strong, nutty flavor
  • Great for spreads and snacks

Both produce excellent homemade macadamia nut butter in the Sana 929.

Texture: Why It’s Creamier Than Blender Nut Butter

With low-speed processing, you get:

  • Smooth, spreadable consistency
  • Less oil separation
  • Rich, stable texture

This is what sets apart a premium macadamia butter recipe from typical homemade versions.


Ways to Use Macadamia Nut Butter

This healthy nut butter is incredibly versatile:

  • Chocolate macadamia spread
  • Smoothie enhancer
  • Baking ingredient
  • Keto-friendly fat source
  • Natural cosmetic base (shea butter alternative)


Tips for Perfect Macadamia Nut Butter

  • Slight warmth improves oil release
  • Use the pressure cap for creamier results
  • Store in the fridge to maintain freshness
  • Process in medium batches (~400g)
ChatGPT Image Mar 20, 2026, 12_19_20 PM

The Best Way to Make Macadamia Nut Butter at Home

If you're serious about making the best macadamia nut butter, a blender has limitations. The Sana 929 juicer delivers:

  • Better texture
  • Better flavor
  • Better nutrient retention

It’s the ideal tool for anyone looking for a nut butter maker that goes beyond basic blending.

Listing controls

32 items total
Top