
How to Properly Clean a Slow Juicer (Complete Guide)
Keeping your slow juicer clean is essential—not just for hygiene, but also for performance and longevity. Even if you rinse your juicer after every use, over time you may still notice mineral deposits, discoloration, or a dull coating on certain parts.
So what’s the correct way to clean a juicer properly?
Daily Cleaning: The Foundation
After every juicing session, you should:
- Fully disassemble the juicer
- Rinse all parts under running water
- Use a soft brush to clean the juicing screen
- Occasionally wash with a mild detergent
This removes fresh pulp and juice residue before it dries. However, even with perfect daily cleaning, buildup can still occur over time.
Why Deep Cleaning Is Important
If you start to notice a brown, grey, or white coating on your juicer parts, it’s a sign that deeper cleaning is needed.
These deposits can cause several issues:
- Bacteria growth: Residue and scale can harbor bacteria that may contaminate your juice
- Reduced performance: Fine mesh screens can become clogged, lowering juice yield
- Potential damage: Blocked screens are under more pressure and may crack or fail
Regular deep cleaning helps prevent these problems and keeps your juicer working like new.
3 Effective Ways to Deep Clean a Juicer
All methods follow the same process:
soak → loosen buildup → brush → rinse thoroughly.
1. Remove Mineral Deposits (Descaling) 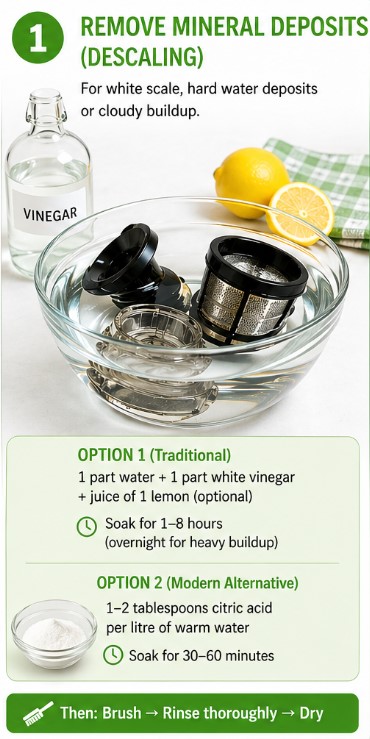
If you see white scale or cloudy buildup (common in hard water areas):
Option 1 (traditional method):
- Mix 1 part water with 1 part white vinegar
- Add the juice of one lemon (optional)
- Soak for 1–8 hours (overnight for heavy buildup)
Option 2 (modern alternative):
- Use citric acid (1–2 tablespoons per litre of warm water)
- Soak for 30–60 minutes
Citric acid is increasingly popular because it’s effective and odor-free.
2. Remove Organic Residue and Stains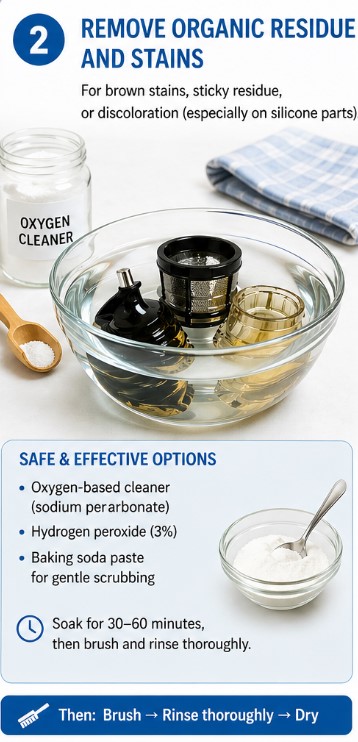
Brown stains, sticky residue, or discoloration (especially on silicone parts) come from dried juice particles.
While older methods often recommended bleach, modern guidance is more cautious.
Safer options today include:
- Oxygen-based cleaners (sodium percarbonate)
- Hydrogen peroxide (3%) for sanitizing
- Baking soda paste for gentle scrubbing
Soak the parts for 30–60 minutes, then brush and rinse thoroughly.
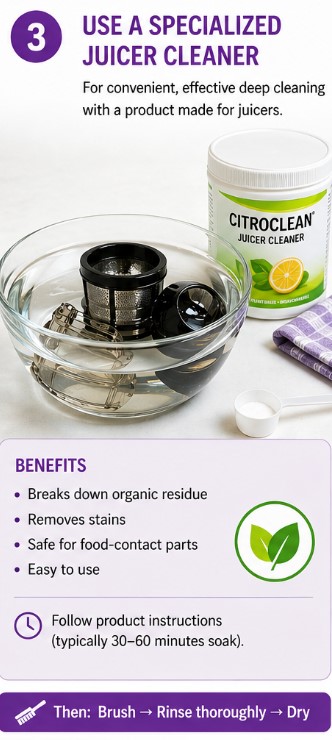
3. Use a Specialized Juicer Cleaner
If you prefer a ready-made solution, products like Citroclean or similar eco-friendly cleaners are designed specifically for juicers.
They help:
- Break down organic residue
- Remove stains
- Clean safely without damaging components
This is a convenient option for regular maintenance.
In most cases, no.
Most slow juicer manufacturers do not recommend using a dishwasher because:
- High temperatures can warp plastic components
- Strong detergents may damage surfaces
- Fine mesh screens can be affected over time
Exception
One notable exception is the Sana 929, which is made from 100% stainless steel. This makes it far more resistant to heat and allows for dishwasher-safe cleaning.
For all other juicers, hand washing remains the safest and most effective method.
Best Practices for Keeping Your Juicer in Top Condition
- Clean immediately after use – dried pulp is much harder to remove
- Use warm water (up to 50°C) – helps dissolve residue without damaging parts
- Focus on the juicing screen – clean from both sides and check for blocked holes
- Avoid abrasive tools – they can scratch surfaces and trap bacteria
- Dry thoroughly before reassembly – prevents mold and odors
How Often Should You Deep Clean?
- Occasional use: every 2–4 weeks
- Frequent use: once per week
- Hard water areas: descale more often
Final Thoughts
Daily rinsing keeps your juicer usable—but regular deep cleaning keeps it safe, efficient, and long-lasting.
By combining consistent daily care with occasional deep cleaning using modern, food-safe methods, you’ll enjoy:
- Better-tasting juice
- Higher juice yield
- A longer lifespan for your juicer